Keeping your Website Visitors Informed with Boxzilla
It’s no secret that at this point COVID-19 has impacted everyone around us. There are so many uncertainties, and everyone is looking for some clarity. Here’s a short blog post on how your brand can offer some clarity to website visitors using one of our favorite digital tools, Boxzilla.
What is Boxzilla?
Boxzilla is a free WordPress plugin that allows you to easily show a popup to visitors on your website. We install this plugin on every WordPress site that we deploy. The official Boxzilla website describes the plugin as offering “conversion boosting boxes” but I’m more of an advocate of using the plugin for need-to-know information. Right now, Boxzilla offers a wonderful way to quickly let your website visitors know if you are closed, open for business, or anything else that might be relevant given the times.
There are a number of options when adding a popup “box” to your site with Boxzilla. Boxes can be added to specific pages, the entire site, and can have a variety of sizes. The max-width of a box can be set, along with the position and at what point the box should be displayed when navigating a page. If you want to enable users to dismiss the box for future visits, there’s an option for that too.
How do I use Boxzilla to display a popup with important information?
Below are basic instructions on how to create a dismissible, centered popup that will be shown to each user who visits your site.
- Install and activate the plugin on your WordPress site: https://wordpress.org/plugins/boxzilla/
- From your admin panel, go to Boxzilla -> Add New
- Give the box a title (title is only shown in the admin panel) to help you differentiate it from other boxes that you might have on your site.
- Add some content to your box in the WYSIWYG area. You can even use WordPress shortcodes here.
- Since this box is going to be in the form of a centered popup, I’d recommend adding a max-width of 600px under Box Appearance. This keeps your text legible on larger screens.
- Scroll down to Box Options to specify the rest of the settings.
- For a site-wide box you don’t need to change the rules for “Load this box if”, as the default is set to site-wide.
- Select “Center” under Box Position.
- For “Auto-show Box” select “Yes after 0 seconds on the page”
- This box is going to be fairly intrusive because we are using it to serve need-to-know content. We don’t need to show this box after a user has seen it once and clicked or tapped the close button. The box can be hidden from visitors on subsequent visits by adding a large integer such as 9999999 in the Dismissed input under Cookie Inspiration.
- Hit save, and go preview your box on the front of your site. Note that the box will ALWAYS be shown if “Test Mode” is enabled. Test Mode is great for previewing your box, but you need to disable Test Mode or else visitors will be very annoyed with your site.
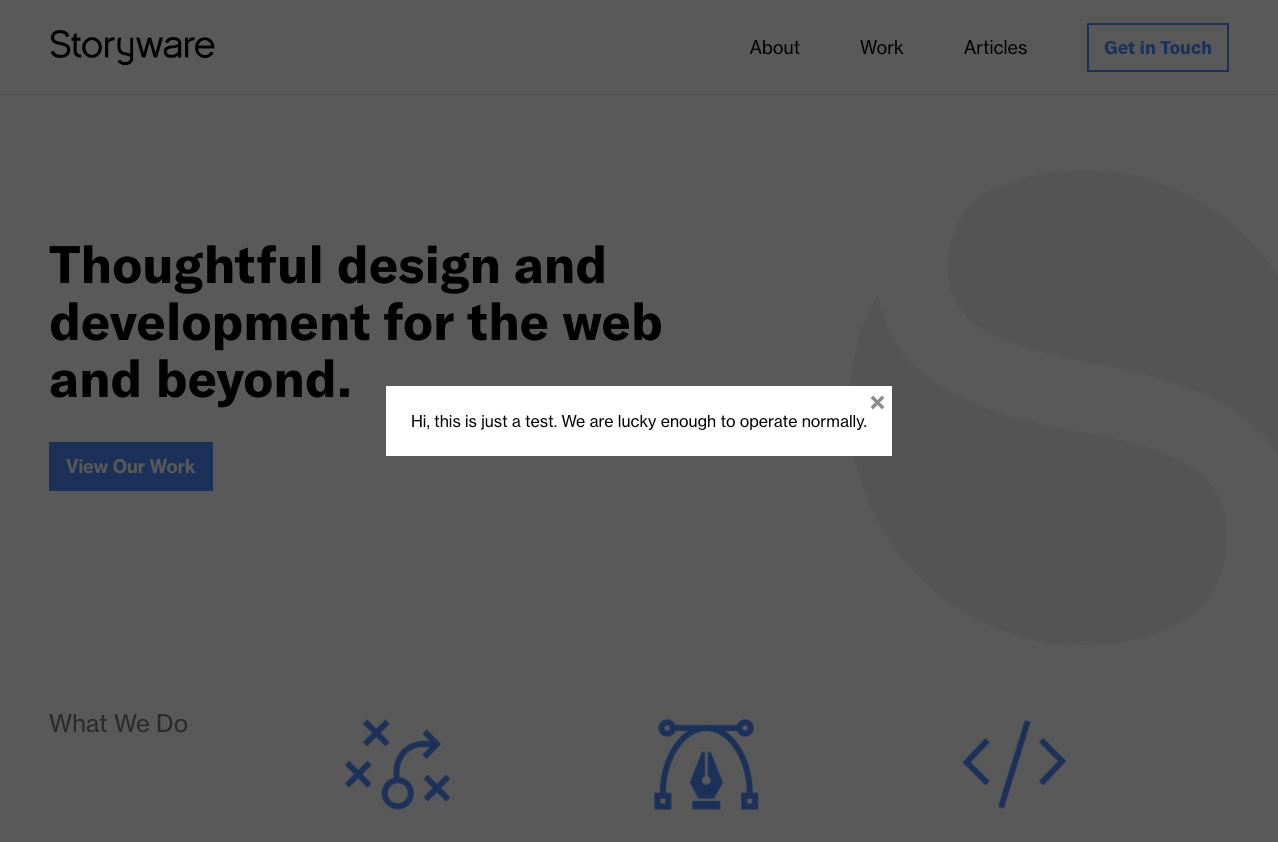
Below are some screenshots of our settings and the result.


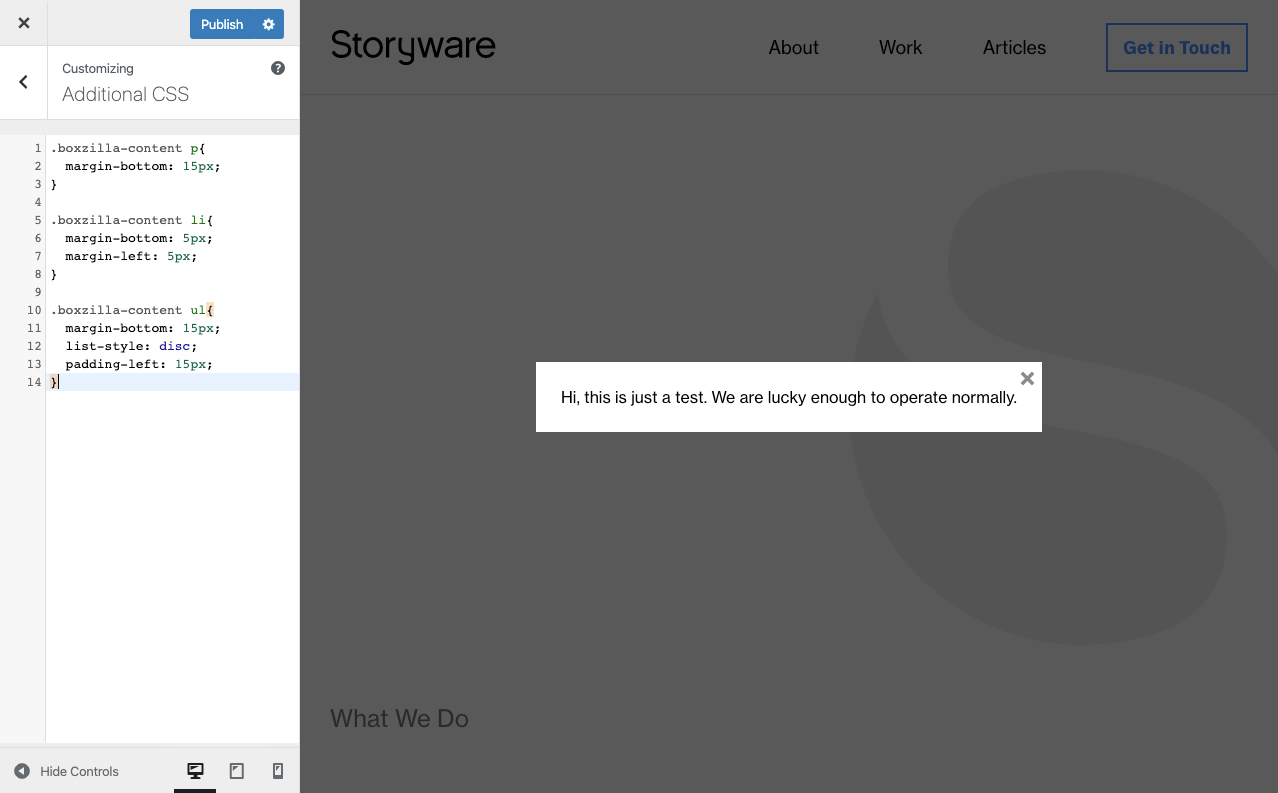
Pro Tip: If you’re going to include paragraphs of text or lists in your box, then you may need to add some CSS to support these in your Boxzilla boxes. This CSS can be added via the Customizer in WordPress, which can be accessed via the admin panel by going to Appearance -> Customize -> Additional CSS. Here’s a quick code snippet below:
.boxzilla-content p {
  margin-bottom: 15px;
}

.boxzilla-content li {
  margin-bottom: 5px;
  margin-left: 5px;
}

.boxzilla-content ul {
  margin-bottom: 15px;
  list-style: disc;
  padding-left: 15px;
}

That’s it!
Thanks for reading. Hopefully this helps your brand keep visitors informed. Stay safe out there, and please let Storyware know if we can do anything to help in this difficult time!